NGINX Kubernetes Ingress Controller | Azure Environment
This solution will use AZURE backend services to host the modern application and NGINX Kubernetes Ingress Controller. Utilizing AZURE managed services will dramatically reduce the amount of time needed to build out a solution. Using Terraform for building the AZURE services provides a consistent deployment every time.
Prior knowledge of AZURE or Terraform is not needed. The solution aims for a smaller learning curve on infrastructure (with abstractions) in exchange for more time with Kubernetes.
Terraform is an open-source infrastructure as code software tool that provides a consistent CLI workflow to manage hundreds of cloud services. Terraform codifies cloud APIs into declarative configuration files.
Visual Studio Code is a streamlined code editor with support for development operations like debugging, task running, and version control.
This solution is leveraging Terraform to create and manage the following products and services.
Azure Container Registry (ACR)
Azure Kubernetes Service (AKS)
Azure Load Balancing (ALB)
Azure Identity and Access Management (IAM)
Azure Key Vault (secrets Management)
Terraform
VSCode
- NGINX Ingress Build Resources
Docker v18.09+
GNU Make
git
OpenSSL, optionally, if you would like to generate a self-signed certificate and a key for the default server.
For NGINX Plus, you must have the NGINX Plus license - the certificate (nginx-repo.crt) and the key (nginx-repo.key).
Note
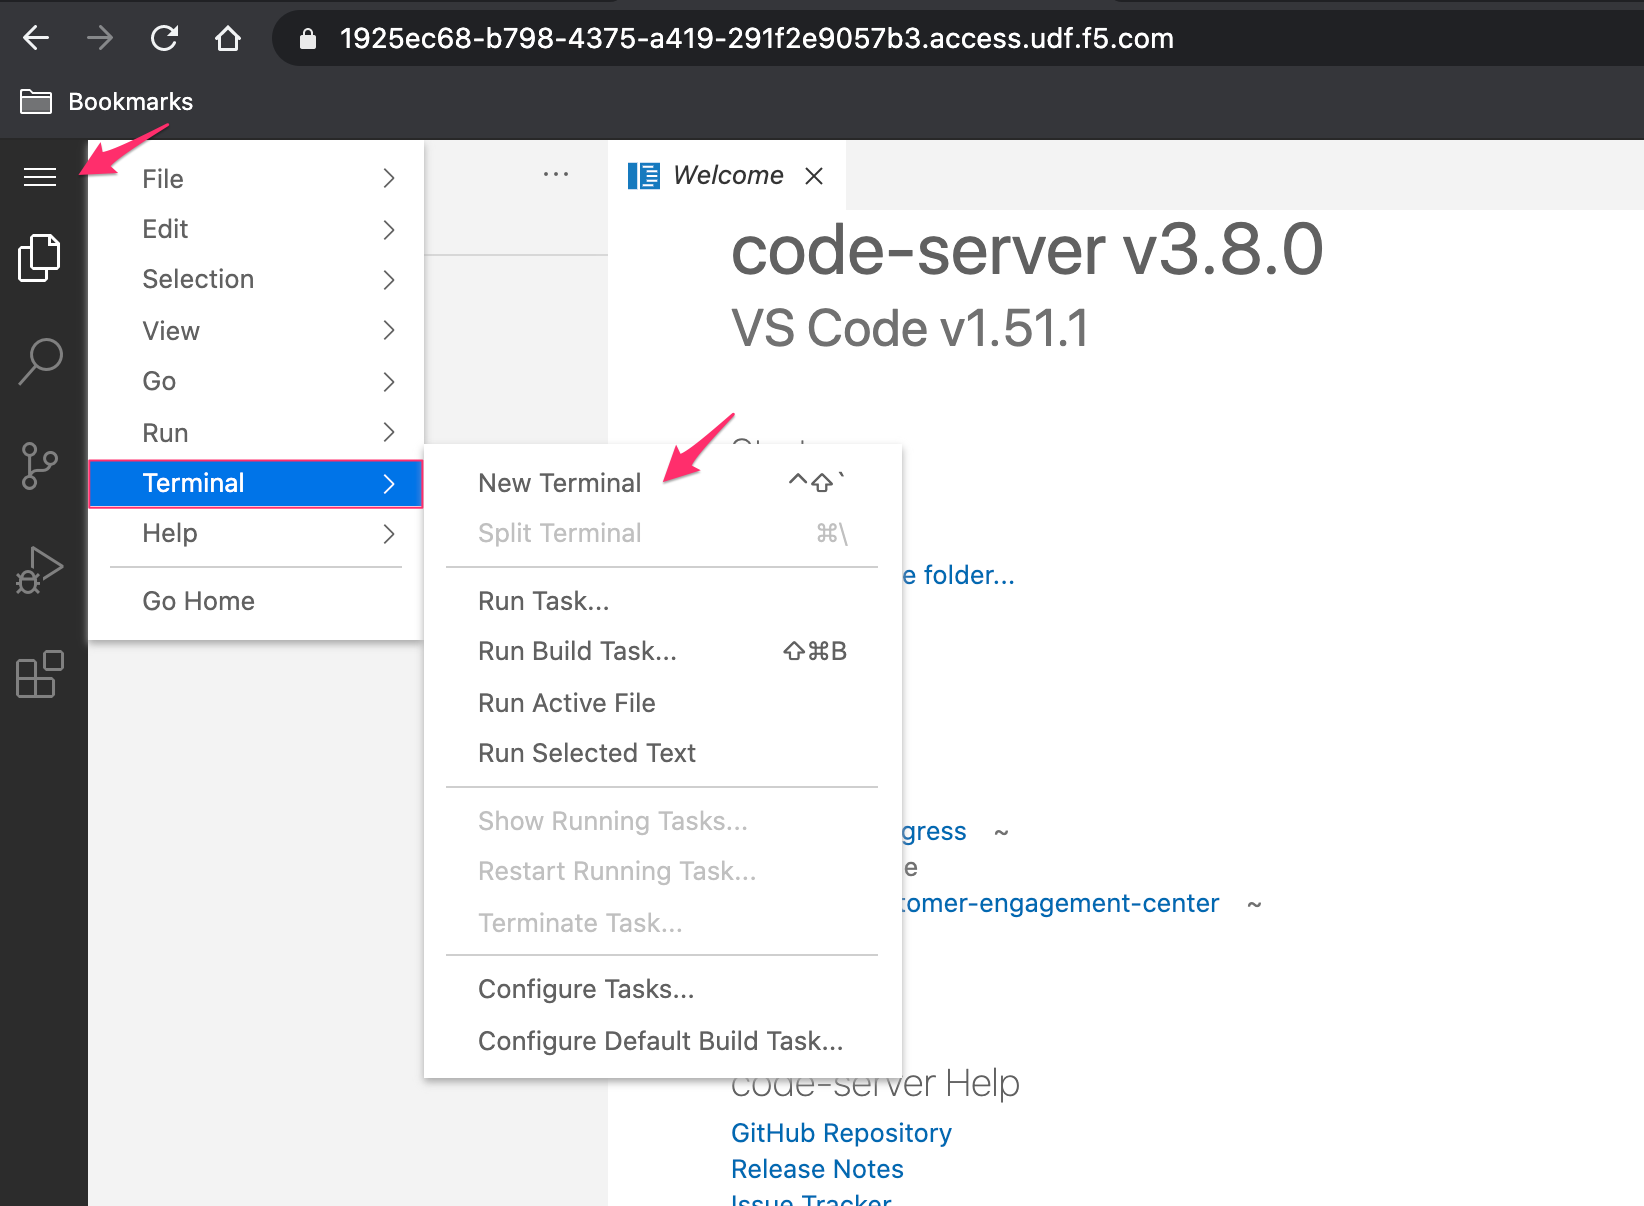
Double-clicking in the empty space to the right of Welcome tab in VSCode will create a new file that can be used as a digital notepad
VSCode is our preferred IDE. This allows an editor and terminal within a single pane, open VSCode, and a new Terminal. If you are in the UDF environment, you can access VSCode through the coder access method on the ubuntuHost resource. Also, see F5 UDF Environment Access.
Example:
Set or verify environment AZURE credentials
In the terminal window, copy the below text and paste+enter:
az login
git clone the public repositories containing all code.
Note
Examples are shown pulling the repositories down to the Desktop folder. If you choose to change the clone location, be aware of the path
In the terminal window, copy the below text and paste+enter:
git clone -b 'v1.1.0' --single-branch https://github.com/f5devcentral/f5-digital-customer-engagement-center
git clone -b 'v1.10.0' --single-branch https://github.com/nginxinc/kubernetes-ingress
Example:


Change directory to the F5 Digital Customer Engagement Center repository
In the terminal window copy the below text and paste+enter:
cd /home/ubuntu/Desktop/f5-digital-customer-engagement-center/solutions/delivery/application_delivery_controller/nginx/kic/azure
Example:

SSH key for created Azure Resources
Note
For UDF run workshops, an SSH key has already been created for you
Terraform will need an SSH key for creating resources. If you have one, you can provide it or create a new one.
In the terminal window, copy the below text and paste+enter:
cat ~/udf_user.pub
Copy the output to be used in the next step, or provide an SSH key.
Example:

Modify Terraform admin.auto.tfvars file for deployment.
In the terminal window copy the below text and paste+enter:
cp admin.auto.tfvars.example admin.auto.tfvars
sudo vi admin.auto.tfvars
Variable Name
Variable Value
resourceOwner
Arbitrary (i.e. johnc)
projectPrefix
kic-aks
azureLocation
eastus2
sshPublicKey
Copy pasted ssh key from previous step
save and exit file with
:wqExample:


Run the setup script - This will create Azure resource objects
In the terminal window copy the below text and paste+enter:
./setup.sh
Example:

Accept the Terraform deployment
enterwhen neededExample:

Terraform Completed
Warning
Terraform is building several services, this can take 10-15 minutes
The outputs from our Terraform run are in green. We will need this information to access our services and create/publish NGINX into the environment.
Save the outputs for the next few steps.
Example:

All of the Terraform-created objects are dynamic, so until running the Terraform template they did not exist. Now that the resources are created, we need to apply access to those services.
Step 1: Collect environment outputs from terraform
RG=$(terraform output -raw resource_group_name)
AKS=$(terraform output -raw aks_name)
ACR_NAME=$(terraform output -raw acr_name)
ACR=$(terraform output -raw acr_login_url)
SECRET_ID=$(terraform output -raw secret_id)
TOKEN=$(az acr login -n $ACR --expose-token | jq -r .accessToken)
Example:

Step 2: Assocate ACR with AKS.
In the terminal window copy the below text and paste+enter:
# associate ACR with AKS
az aks update -n $AKS -g $RG --attach-acr $ACR_NAME
Example:

ACR is used as our registry for the Kubernetes environment. Registries are used to keep container images for lifecycle and deployments. NGINX Ingress Controller is a container.
Example:

Step 3: Docker login to ACR
# connect docker to ACR
docker login $ACR -u 00000000-0000-0000-0000-000000000000 -p $TOKEN
Example:

Step 2: Log in to AKS.
In the terminal window copy the below text and paste+enter:
export KUBECONFIG=$KUBECONFIG:~/.kube/aks-cluster-config
# test connection
kubectl get nodes -o wide
Example:

Kubernetes in this environment will host our application, and we will be using NGINX Ingress Controller to expose that application.
Example:

The environment has been created, all access has been set.
At this point, we can deploy our services and provide access.